
I haven’t done much sewing in a while as I’ve been powering through some pattern testing. This past weekend, I just had an itch to dust off my machine. I think a lot about the Kalle Shirtdress by Closet Core Patterns I made earlier this year. It’s perfect for just throwing on, yet looking polished. Dresses that can do that definitely have a spot in my wardrobe. The chambray version I made gets a lot of wear and I have been itching to make the shorter shirt version.
A while back I bought this funky brown toned pineapple printed cotton. Looking at it now, I’m not sure what inspired me to purchase this fabric. It was probably on sale. It doesn’t really jump out at me and isn’t within my usual colour palette. But something about this fabric was screaming to be made in to a fun Kalle Shirt
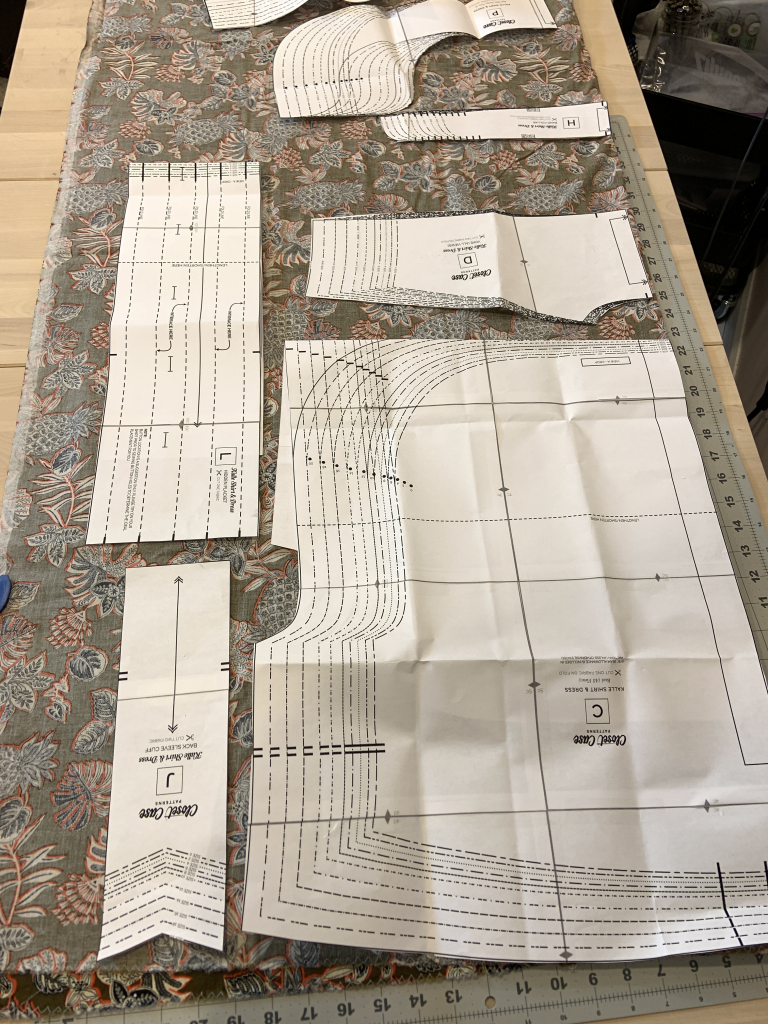
I am a planner by nature, but absolutely do not plan out my creative projects. A skill that is in development – I will fill you in later on this.
I was so desperate to get sewing, I just jumped into this pattern head on. I cut a size 12 with no modifications and opted for the shortest length. As I was sewing it, I knew I would regret the length a little because my chest is on the larger size.
The Details
With little planning, all of the options available with this pattern slipped my mind. You are able to chose the style of collar, back pleat and front closure. Full steam ahead, I was already working on the hidden placket before I realized I had other options! I’m glad I stuck with the hidden placket though. Had I thought about it, I probably wouldn’t have done it because it takes a little extra work. I think the next version of the Kalle Shirt I make will be the pop-over style and a few inches longer.


Because I forged into his blindly; I got to learn a new skill! I had never made a hidden button placket before, so I am glad I ended up there. Closet Core Patterns has amazing resources for sewists. Even though the patterns are fairly easy to follow they offer loads of tutorials on their website. I followed this one for the hidden placket.
The tutorials also came in handy for the burrito method for the yoke. I’ve done this construction method before, but I ALWAYS forget how to do it.
My elderly sewing machine faced an unfortunate demise earlier this summer, so I replaced it with a second-hand version. My original was a gift for my 18th birthday, so it did it’s time. The new machine is one step below my previous machine, so it doesn’t have the automatic buttonhole option. This scared me a little bit, but the quality of the manual buttonholes was much better than the automatic option. So it all worked out.
The Finished Product
This Kalle Shirt pattern is so much fun. I love how simple it is to put together, yet how detailed the finishes are. As you can see, I used the collarless version, with the hidden placket and the hemline facings. All very nice touches to make it look even more professional. I flat-felled my seams because I am really not enjoying the unfinished look of serger seams these days. Flat-felled and bias binded seams appear more finished to me so I will likely stick with these seam finishing options moving forward.


The Finer Details

Buttons 
Collarless 
Hidden Button Placket 


Leave a Reply