
Welcome back! So glad to have you on this journey while you learn how to knit. You can continue knitting your scarf with just the knit stitch, which forms the Garter Stitch pattern. (At then end of this post, are instructions on how to finish your project). Or, take today’s challenge to learn the Purl Stitch.
HOW TO KNIT THE PURL STITCH
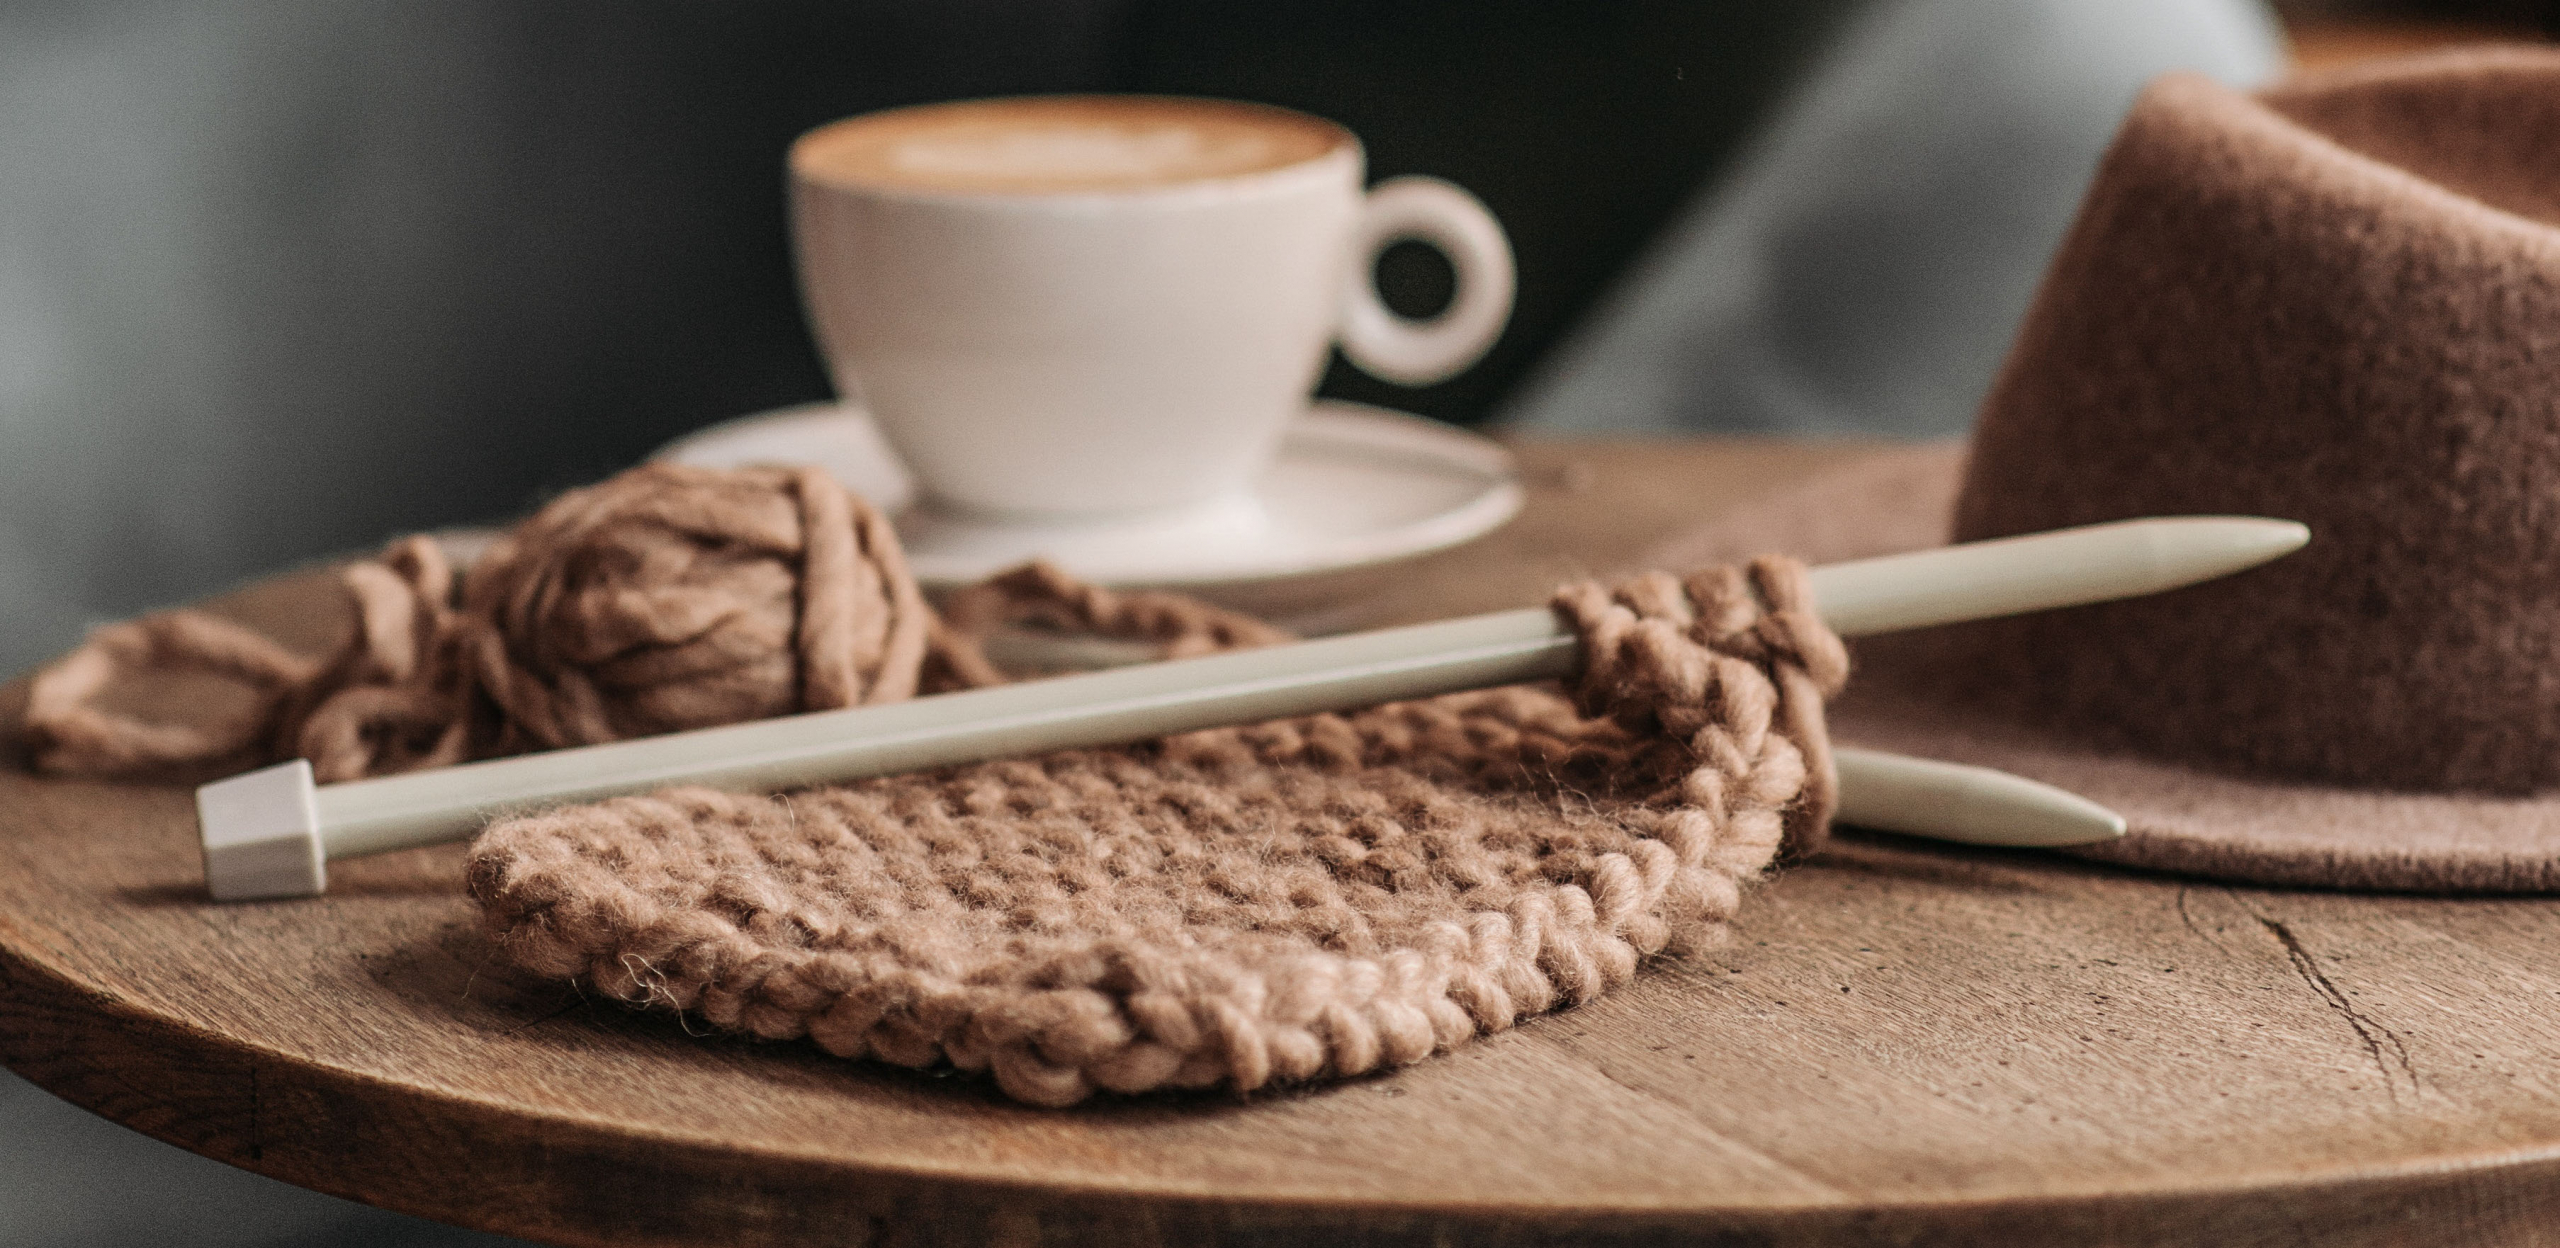
Purling is the same as knitting, but in reverse. First, make sure your yarn is in the front of your project. Then insert your right needle through the first stitch on the left needle from back to front. Wrap your yarn around your right needle and slowly pull the right needle out, making sure to pull the yarn you wrapped around out as well. Leave this stitch on your right needle as your first purl stitch! See? Easy! Continue on across the row.
Here is a video tutorial from We Are Knitters
Now that you know how to knit and purl, you can create a lot of different patterns!
Knitting one row and purling the next row creates what is called the Stockinette Stitch. This is a good option for a scarf. You will have two different sides to the scarf: A front and a back.
You can also create patterns in your work by alternating knit and purl stitches within the same row. Play around with it to see if you can create something unique.
With these two stitches, you already know how to do ribbing! Ribbing is knit in an alternating knit/purl pattern. Usually, knit 2, purl 2 repeated until the end of the row. On the reverse side, you would make sure to purl your knit stitches and knit your purl stitches.
CASTING OFF YOUR PROJECT
Once you have knit your scarf to the desired length, you are ready to finish it by casting off. This will secure all your stitches and create a nice finished edge. To do this, start by knitting two stitches. You should have your two knit stitches on the right needle. Slide your left needle into the first knit stitch on your right needle (closest to your hand) and pull it up and over the second knit stitch (off the needle). You will have one knit stitch remaining on your right needle and the other will be ‘dropped’ around the remaining one. Repeat in this manner until you have completed the row and you have your final stitch on your right needle. Cut your yarn and pull the cut end through the last stitch and pull to tighten. YOU ARE DONE KNITTING!
Here is a video tutorial by We Are Knitters.
The final finishing step you will need to do is weave in your ends. Thread your tapestry needle with the end of your yarn and weave it (or sew it) in to a few of the stitches in your scarf. Then trim the yarn. Do the same to your other end that is hanging loose
It is unlikely you will finish your scarf in just two days. It is a project that you can continue to work on while watching tv or relaxing at night. You can take as long as you like to finish, just enjoy the process. At the end, you will have a beautiful scarf that you can enjoy for years to come!
If you are interested in more knitting resources, check out the following:
And here are some of my favourite places for PATTERNS:
And places to BUY YARN:
Happy Knitting!
-e


1 Comment
Leave a Reply