Making Clay Figurines
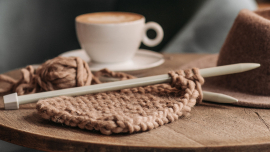
In addition to knitting, painting and colouring, clay art also has amazing therapeutic benefits. There is a physical element with conditioning the clay, which I find really great to work out my anxiety. Clay art therapy is currently being used as a complementary treatment for depression in adults.
So today, your challenge is to craft something from clay.
What you will need:
Clay: I like to use polymer clay (you bake to cure it), but if you have Crayola clay at home, you can use that (this is air dry and will dry out). Polymer will not dry out/harden until it is baked. If you can’t find clay or don’t want to buy it here is a homemade air dry clay recipe you can try. DISCLAIMER: I have not tried this recipe as I use only polymer clay.
Rubber Gloves: Gloves will help to prevent fingerprints in your finished clay piece and keep your hands clean
A smooth surface to work on: You don’t want to stain any tables or counters. Polymer clay is not food safe, so anything you are using with clay cannot be used with food items
TIME REQUIRED: About half an hour to create your figurine plus cure/dry time
STEP ONE: Choose a design/inspiration.
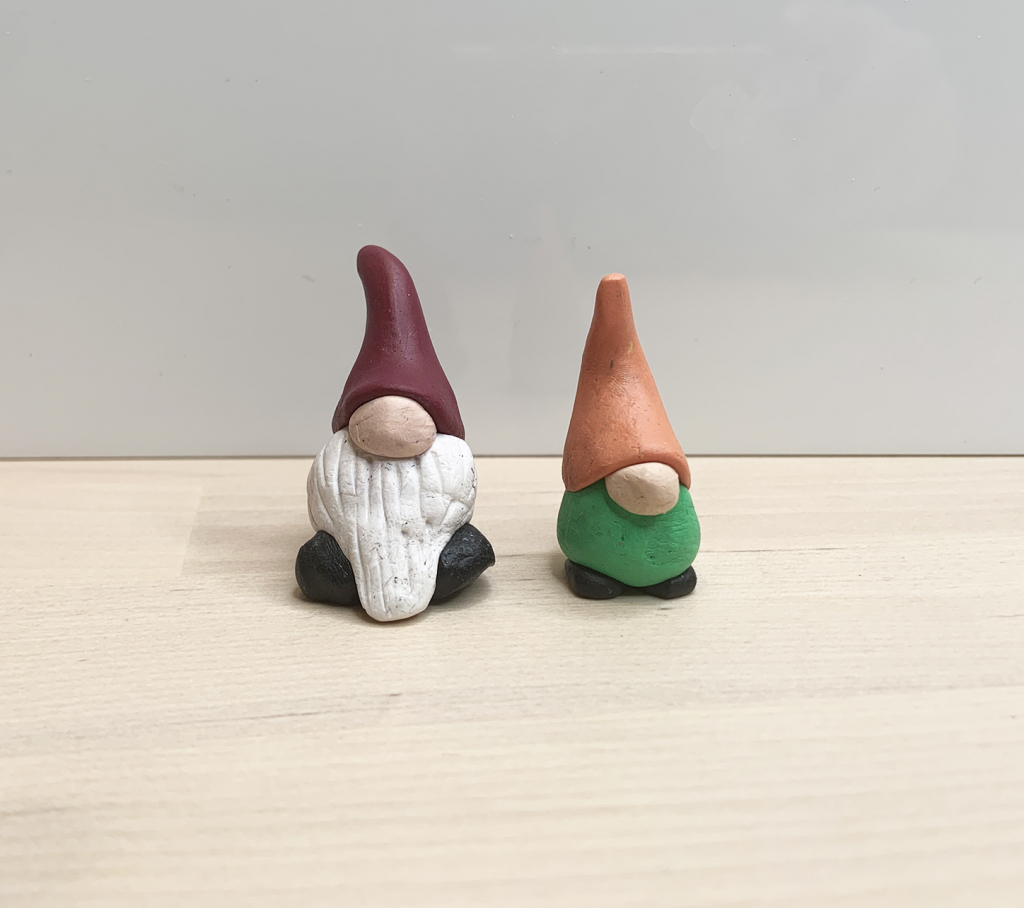
I have put together some ideas in a Pinterest board. I chose to make a little gnome to go beside my painted rock door.
STEP TWO: Choose your colours and prep your clay
Most clay will need to be conditioned. This basically means you work it in your hands until it is soft and pliable. You can never over condition polymer clay. The more pliable it is, the easier it will be to work with. Always wash your hands in between colours and work from lightest to darkest. Also try to avoid dust and fuzz as it gets stuck in the clay. You can create your own colours by mixing existing ones. So come up with a colour palette you love.
STEP THREE: Create basic shapes
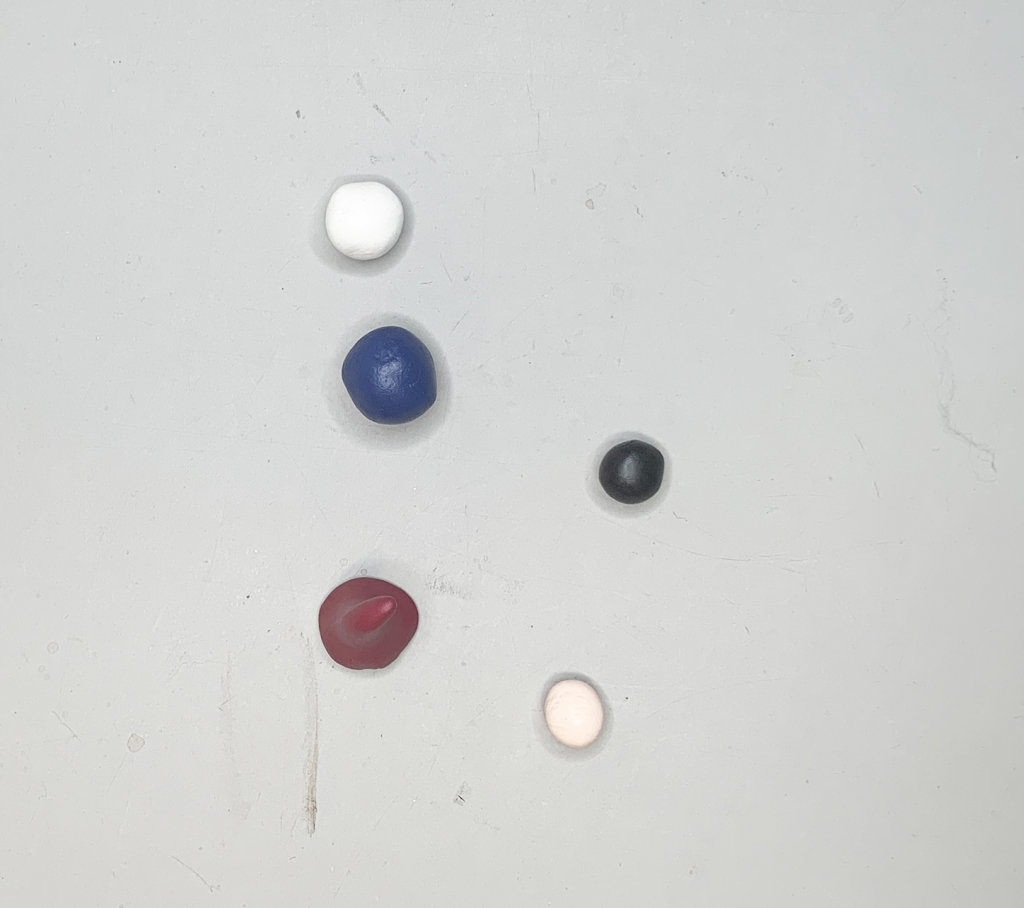
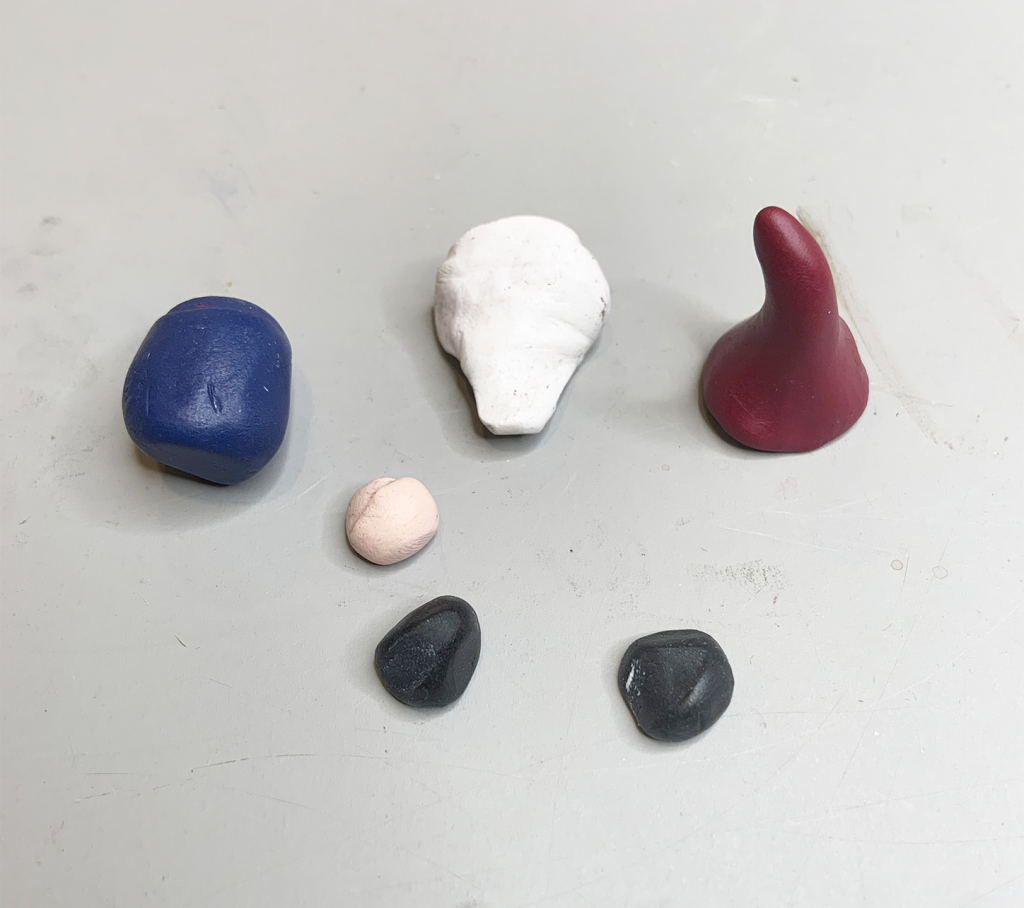
Section off your clay and create the basic shapes for the elements you will need for your figure. Since I am doing a gnome, I made a white beard, red hat, blue body, pink nose and two black shoes. These don’t have to be perfect as you will mold them as you put them all together.
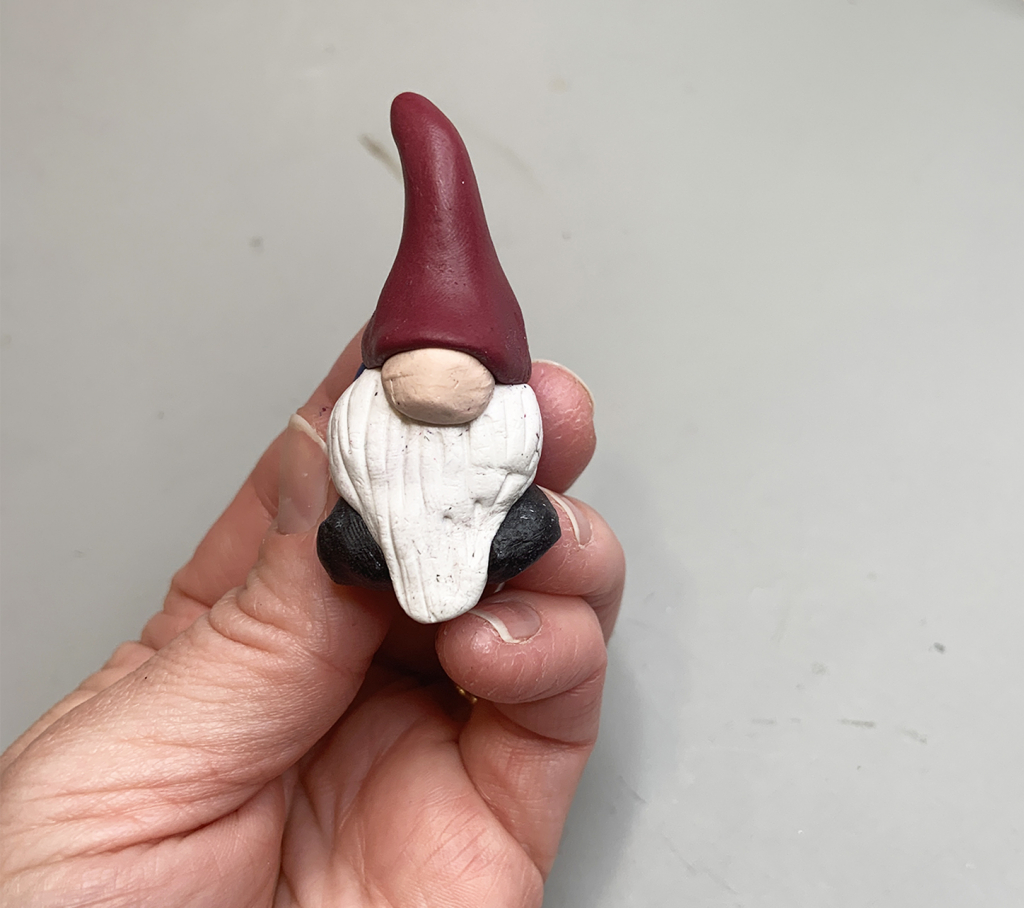
STEP FOUR: Assemble and add details
Put all of your pieces together and press them until they stick. Shape them to how you want them to look. You can add details to the clay with things around the house. Toothpicks, rulers, bobby pins, etc. Just be sure you don’t use anything that will touch food after! I added some lines in the beard to make it look like hair.
STEP FIVE: Cure or let dry
If you are using polymer clay and you want to keep your figurine, then you can bake it as per the directions that came with your clay. If you don’t want to keep it, you can take it apart and re-use the clay. If you are using air dry clay, leave it in a safe space to dry.
If are like me and managed to get dust and fuzz on your polymer clay you can use rubbing alcohol and a cotton swab to remove it before you cure it.
OPTIONAL: You can seal or treat your clay after it is done baking. This isn’t required, but if you want it to be glossy, you could use a clear acrylic spray coat (like the one suggested in the Rock Painting Challenge).

Leave a Reply